
Mastering Appliqué Quilting: A Step-by-Step Guide to Creative Stitching
Appliqué quilting is a versatile and artistic technique that allows you to add intricate designs, shapes, and even personalized elements to your quilts. Whether you're a beginner or an experienced quilter looking to expand your skill set, this step-by-step guide will walk you through the process of mastering appliqué quilting.
Step 1: Gather Your Materials:
Before diving into your appliqué project, gather the necessary materials:
- Quilt top or fabric square
- Appliqué fabric
- Fusible web
- Sharp scissors
- Iron
- Sewing machine
- Matching thread
- Fabric marking pen
Step 2: Choose Your Appliqué Design:
Decide on the design you want to appliqué onto your quilt. This could be anything from simple shapes to more intricate patterns. Consider the theme and purpose of your quilt, and choose a design that complements it.
Step 3: Prepare the Appliqué Fabric:
Place the fusible web on the wrong side of the chosen appliqué fabric. Follow the manufacturer's instructions for fusing it in place using a hot iron. Once fused, let it cool before removing the paper backing.
Step 4: Trace and Cut Out Your Design:
Using a fabric marking pen, trace the chosen design onto the paper backing of the fused fabric. Carefully cut out the design along the traced lines using sharp scissors. Take your time to ensure precision.
Step 5: Position and Fuse the Appliqué:
Position the cut-out appliqué piece onto the quilt top or fabric square. Use the iron to fuse it in place, following the manufacturer's instructions for the fusible web. Make sure the edges are securely adhered.
Step 6: Stitch Around the Appliqué:
Using your sewing machine, select a straight or zigzag stitch. Stitch around the edges of the appliqué, securing it to the quilt top. Adjust the stitch length and width based on your design and personal preference. This stitching not only adds a decorative touch but also reinforces the appliqué.
Step 7: Finishing Touches:
Trim any excess threads and give your quilt top a final press with the iron. Admire your appliqué masterpiece and take pride in the personalized and creative touch you've added to your quilt.
Appliqué quilting opens up a world of creative possibilities, allowing you to express your unique style and personality through your quilting projects. With this step-by-step guide, you're well on your way to mastering the art of appliqué quilting. So, gather your materials, choose a design, and let your creativity shine in every stitch.
Happy quilting!
Read more
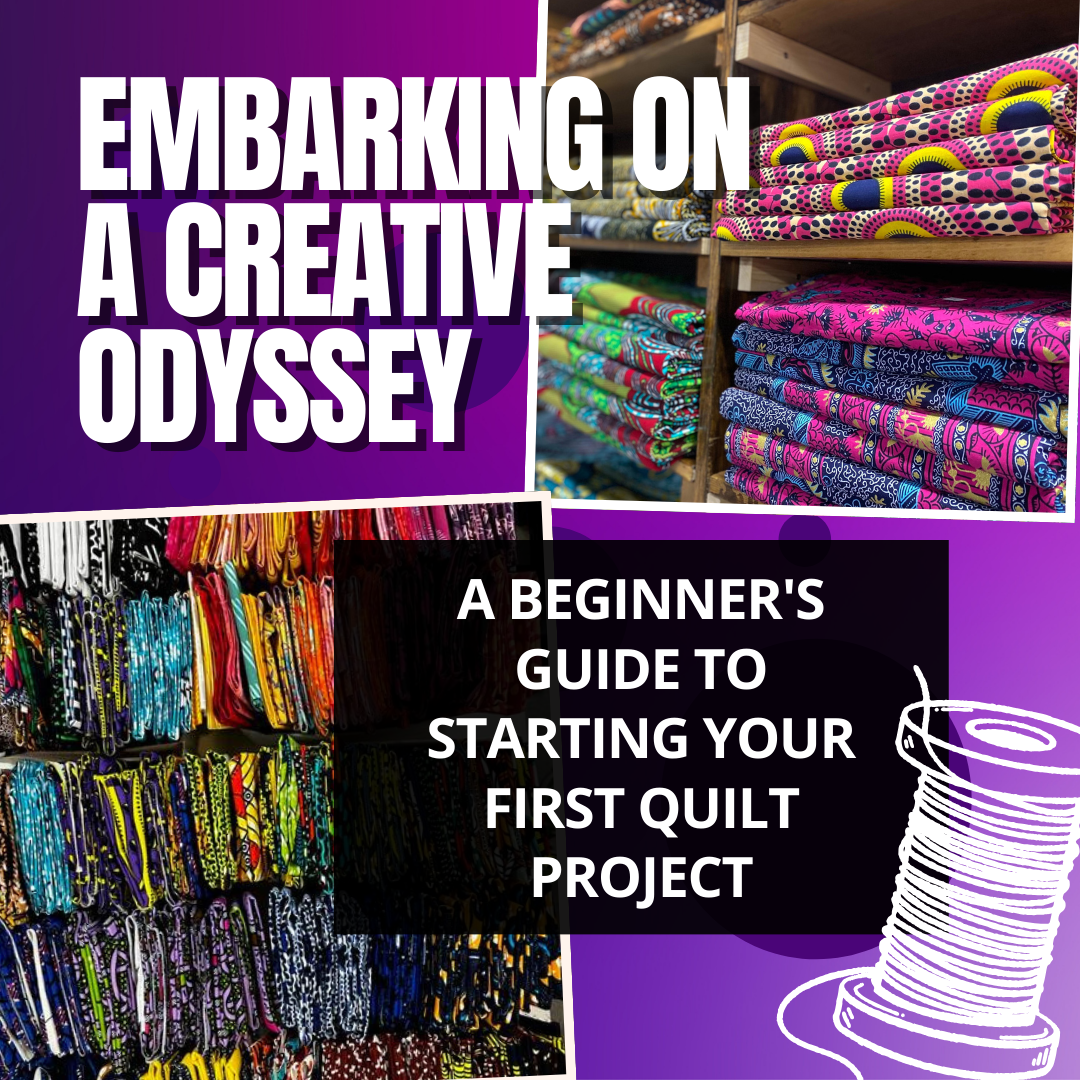
Embarking on a Creative Odyssey: A Beginner's Guide to Starting Your First Quilt Project
The art of quilting is a centuries-old tradition that continues to captivate crafters with its timeless charm and endless possibilities. If you're ready to dive into the world of quilting but feel ...
Read more
Exploring Ghana's Vibrant Culture: Sew Creative Lounge's Journey with Impact Travel Group
Embarking on a journey with a purpose, Sew Creative Lounge joined forces with Impact Travel Group for an unforgettable expedition to Ghana. From the bustling streets of Accra to the historic sites ...
Read more
Leave a comment
This site is protected by reCAPTCHA and the Google Privacy Policy and Terms of Service apply.